The quickest way to get to know Android Studio is to use it to develop an app. We'll start with a variation on the "Hello, World" application: a little mobile app that displays a "Welcome to Android" message.
In the steps that follow, you'll start a new Android Studio project and get to know the project work space, including the project editor that you'll use to code the app.
Starting a new project
From our setup so far, you should still have Android Studio running with the Welcome to Android Studio dialog box. From here, click Start a new Android Studio project. Android Studio will respond with the Create New Project dialog box shown in Figure A.
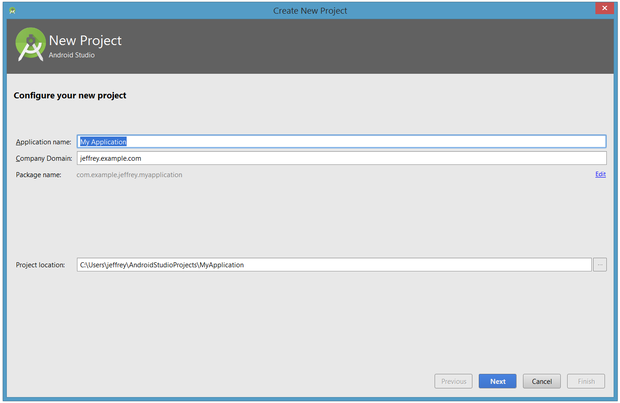
Enter W2A (Welcome to Android) as the application name and javajeff.ca as the company domain name. You should then see C:\Users\jeffrey\AndroidStudioProjects\W2A as the project location. Click Next to select your target devices.
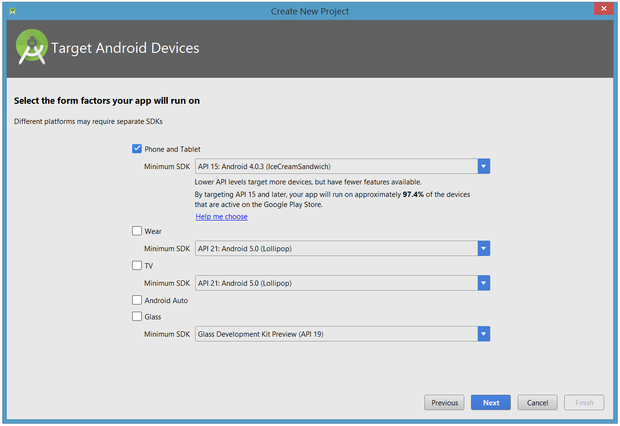
Android Studio lets you select form factors, or categories of target devices, for every app you create. I would have preferred to keep the default API 15: Android 4.0.3 (IceCreamSandwich) minimum SDK setting (under Phone and Tablet), which is supported by my Amazon Kindle Fire HD tablet. Because Android Studio doesn't currently support this API level (even when you add the 4.0.3 system image via the SDK Manager), I changed this setting to API 14: Android 4.0 (IceCreamSandwich), which is also supported by my tablet.
Click Next, and you will be given the opportunity to choose a template for your app's main activity. For now we'll stick with Empty Activity. Select this template and click Next.

Next you'll customize the activity:
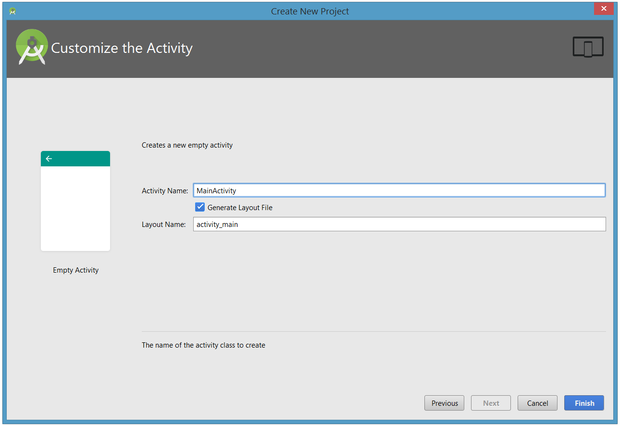
Enter W2A as the activity name and main as the layout name, and click Finish to complete this step. Android Studio will respond that it is creating the project, then take you to the project workspace.
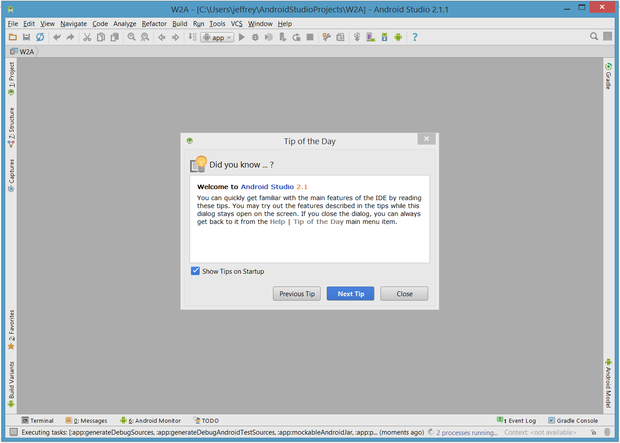
The project workspace is organized around a menu bar, a tool bar, a work area, additional components that lead to more windows (such as a Gradle Console window), and a status bar. Also note the Tip of the Day dialog box, which you can disable if you like.
The project and editor windows
When you enter the project workspace, W2A is identified as the current project, but you won't immediately see the project details. After a few moments, these details will appear in two new windows.
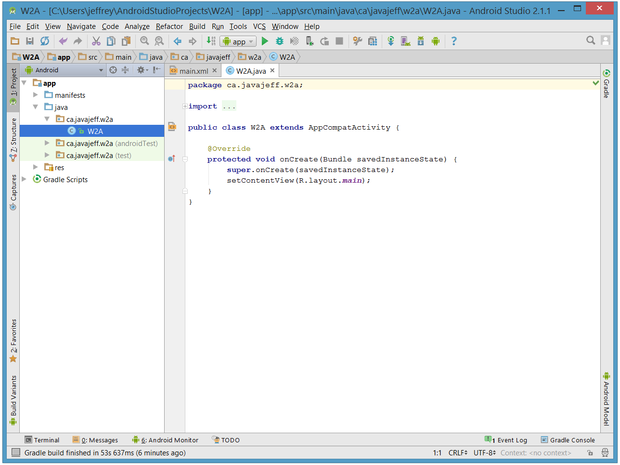
The project window is organized into a tree whose main branches are App and Gradle Scripts. The App branch is further organized into manifests, java, and res subbranches:
- manifests stores
AndroidManifest.xml, which is an XML file that describes the structure of an Android app. This file also records permission settings (where applicable) and other details about the app. - java stores an app's Java source files according to a package hierarchy, which is
ca.javajeff.w2ain this example. - res stores an app's resource files, which are organized into drawable, layout, mipmap, and values subbranches:
- drawable: an initially empty location in which to store an app's artwork
- layout: a location containing an app's layout files; initially,
main.xml(the main activity's layout file) is stored here - mipmap: a location containing various
ic_launcher.pngfiles that store launcher screen icons of different resolutions - values: a location containing
colors.xml,dimens.xml,strings.xml, andstyles.xml
The Gradle Scripts branch identifies various
.gradle (such as build.gradle) and .properties (such as local.properties) files that are used by the Gradle-based build system.
Comments
Post a Comment
Please Comment if Any Query !!